Planners can be an indispensable part of your daily life. Here are 10 creative ways to use your planner that you might not have thought of yet.
Track niddah
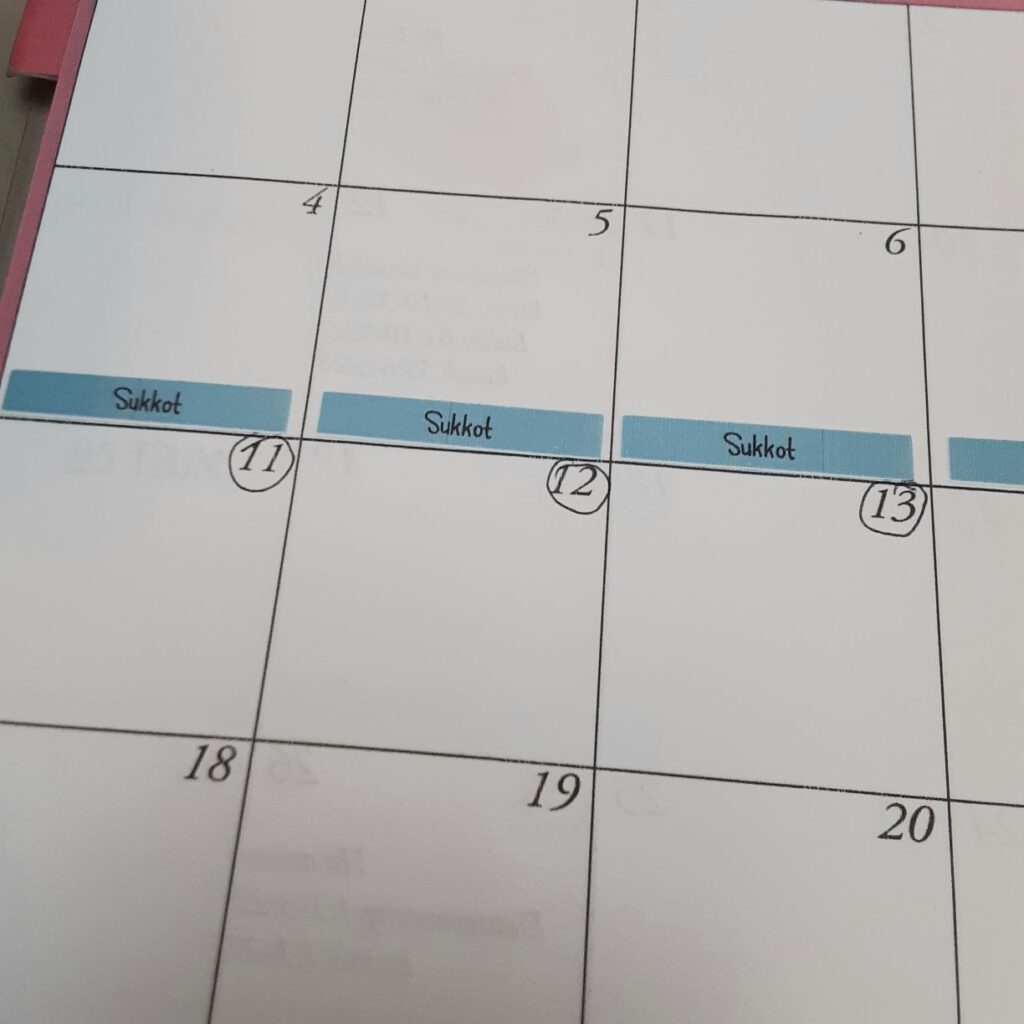
In Leviticus 15:19-24, we are instructed to count seven days for our monthly cycle. I was taught as a teenager to track my monthly cycle for several reasons, the most obvious being able to predict the start of the next cycle. I track my cycle in my planner on the monthly pages by circling the start date and the next six days. No matter how you observe the details of niddah, this simple step allows you to identify those seven days. It also comes in super handy when you are in your childbearing years.
Remove extra pages
If you have discs on your planner, it is easy to adjust how many pages you actually carry around. For example, the weekly section has 52 weekly spreads totaling 106 pages. You don’t need access to all 106 pages all the time. It is easy to remove a large chunk of the blank ones, keep them in a desk drawer, and add them back in when needed. You can also remove previously used pages, but I recommend you do this with caution. I have a habit of writing down recipes, phone numbers, order dates, etc. on the weekly pages, and I do refer back to this info later. I will remove old weekly pages if all they had was a grocery and chore list. I don’t need to keep that around. In case you wondered, I do keep my old planners. Because I write info in them, I often pull out old planners to calculate when an important event happened, or pull a phone number.
You can also rearrange pages in a disc planner. You may want to move a feast day planning page, for example.
Use monthly pages for non-negotiables
In my planner, the monthly layout is strictly guarded and only used for hard and fast appointments. On my monthly pages, you will find doctor appointments, car service appointments, parties, trips, that blasted time change thing, etc. Each Friday, I turn to the next weekly layout and put the dates in. I then turn to my monthly pages and copy over any appointments into the weekly pages. Then I can fill in the rest of the week around them.
Plan your menu
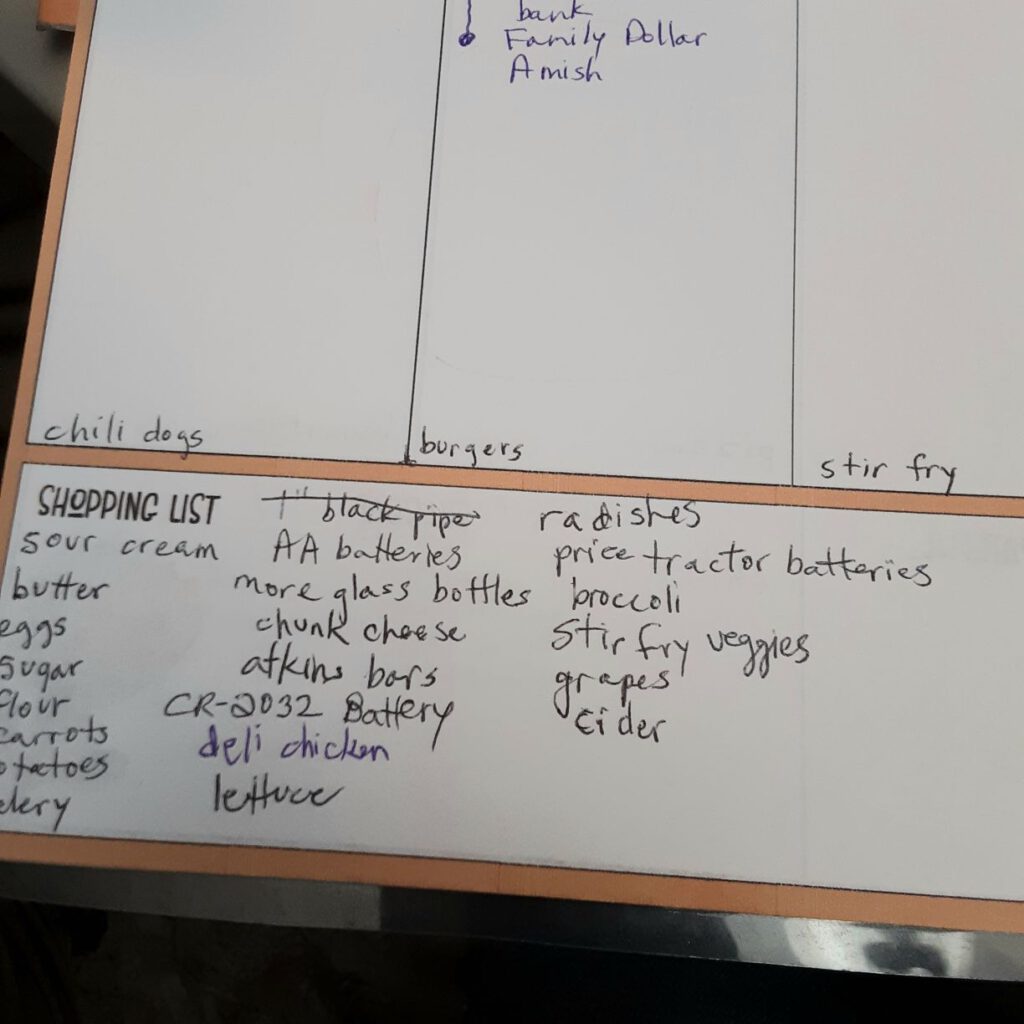
I plan my weekly dinner menu on Friday the week before. On several days of the week, I use a set menu. For example, Monday is burgers, Tuesday is stir-fry, Thursday is pizza, Friday is burritos. Those get filled in first because they rarely change. Then, I only have three days to figure out. If I know I will be very busy on a certain day, I definitely would choose an easy dinner. My weekly menu fits very nicely at the bottom of each day’s column on the weekly pages.
Plan bigger projects
I recently added new pages to the notes section of the Torah planners. It is specifically designed to help you plan out multi-step projects. You could use them for home improvement projects, big cleaning jobs, crafts, etc. I use them mainly for designing new products to sell. I have room to plan out the idea, list tasks, track details, and keep track of my progress. These pages are included in the notes section of both styles of planner, alongside a new page for maintaining a master to-do list.
Look forward to the next feast day
The highlights of our year are the feast days! I’ll admit, though, planning parties is not my strength. I will go to great lengths to avoid them, in fact. My children really look forward to the feast days, and I want them to see YHVH’s feasts as special, so I work hard to overcome my weakness and give them a memorable day.
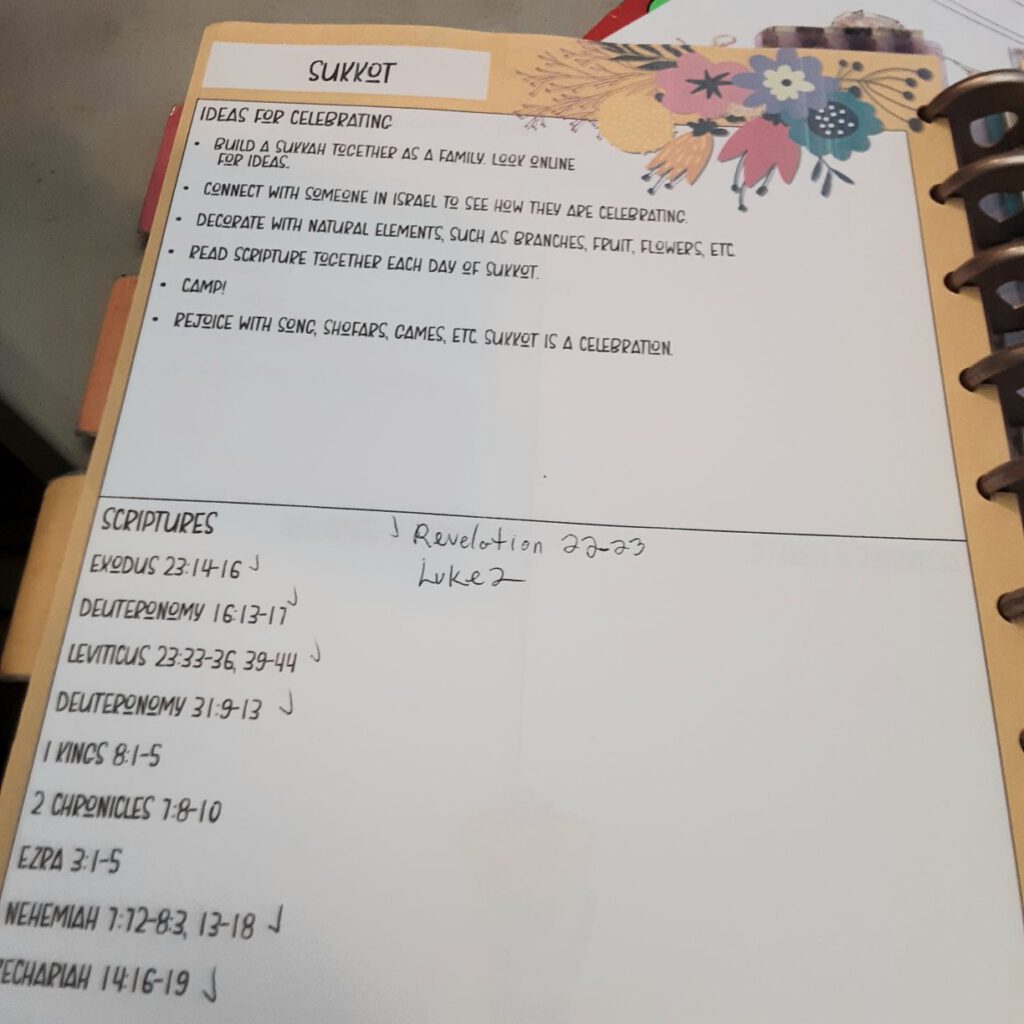
That is why I use the feast day planning pages. I collect ideas from my children, like special foods. I make note of possible craft projects, verses to read, games, etc. I also look for feast related decorations when I shop at the dollar store. I have a string of twinkle lights between the living and dining room, and that is where I hang decorations. I put autumn leaf garlands for the fall feasts, snowflakes for Hanukah, gold beads and purple decorations for Purim, red fabric for Passover. You get the idea. It’s a way for me to decorate for the feasts, but keep it at a level I can maintain.
Copy Scripture
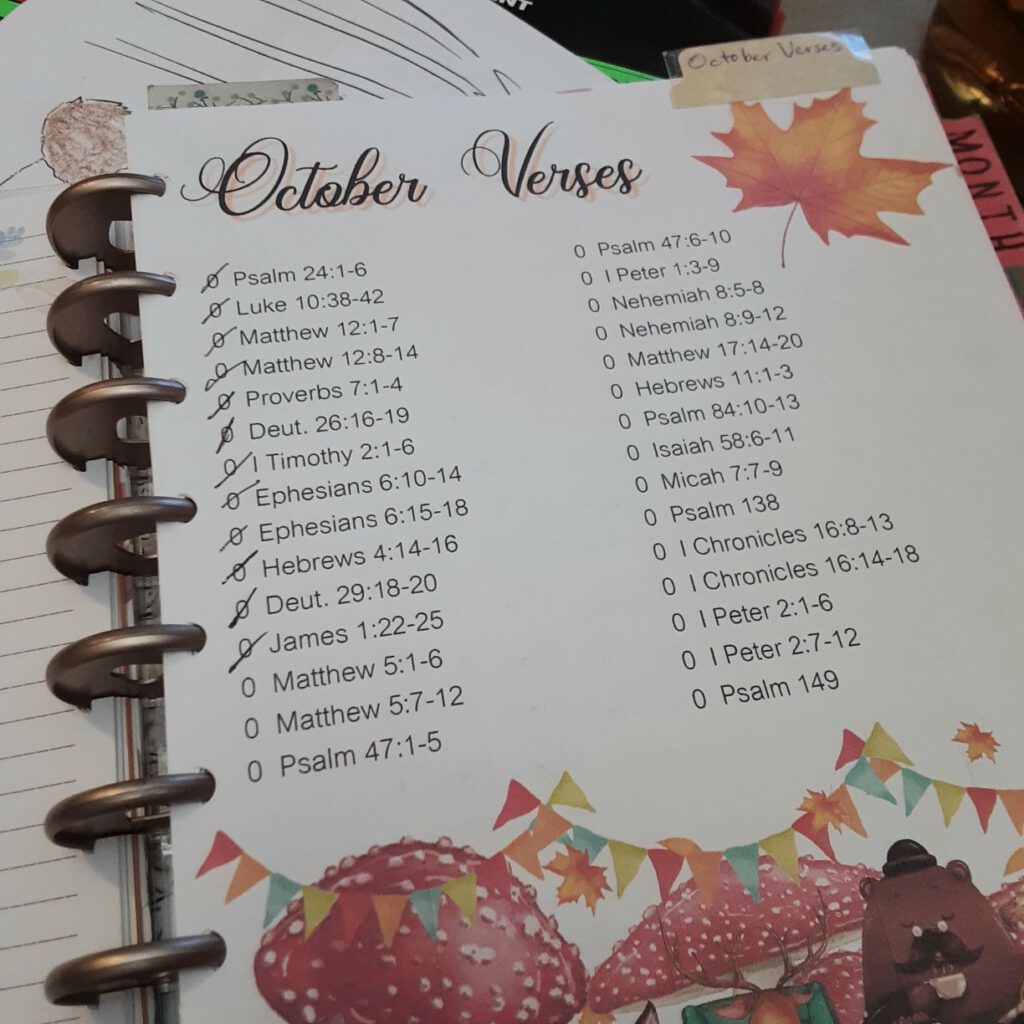
There are so many ways to copy Scripture in your planner. Here are some ideas to get you started.
- Use the notes section to copy verses from the list you can find at the beginning of your planner.
- Copy single verses on your weekly pages.
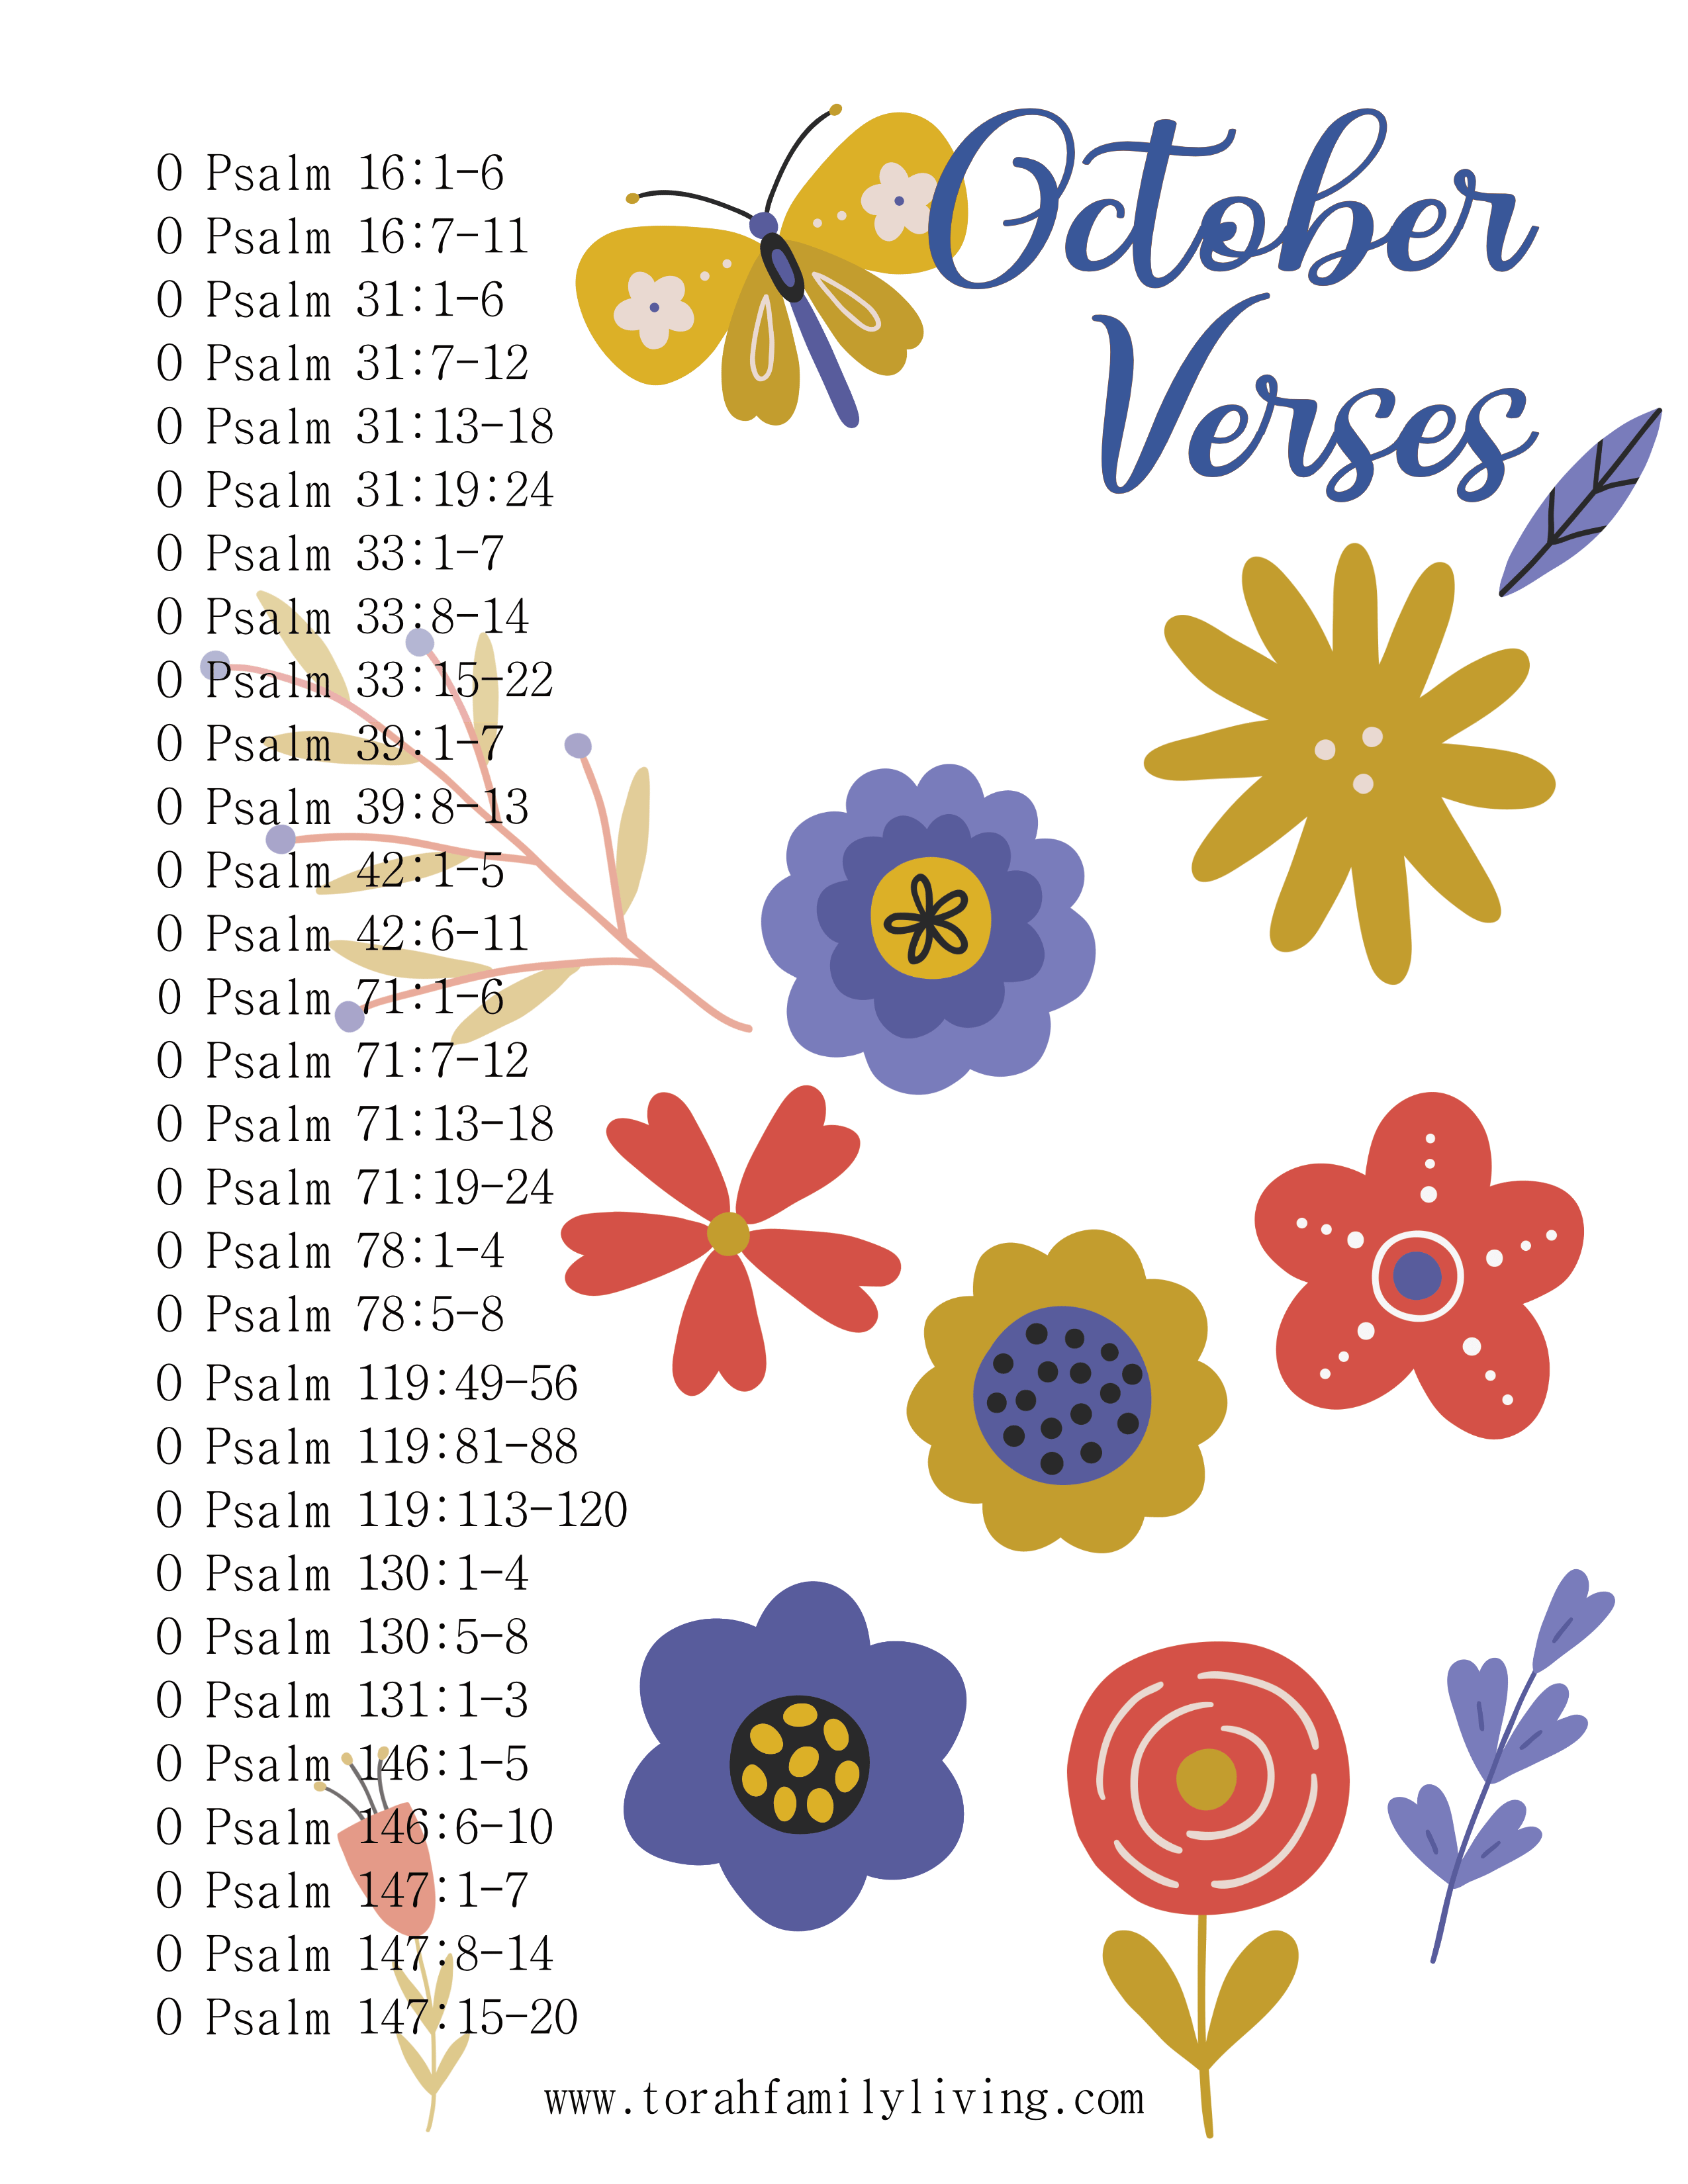
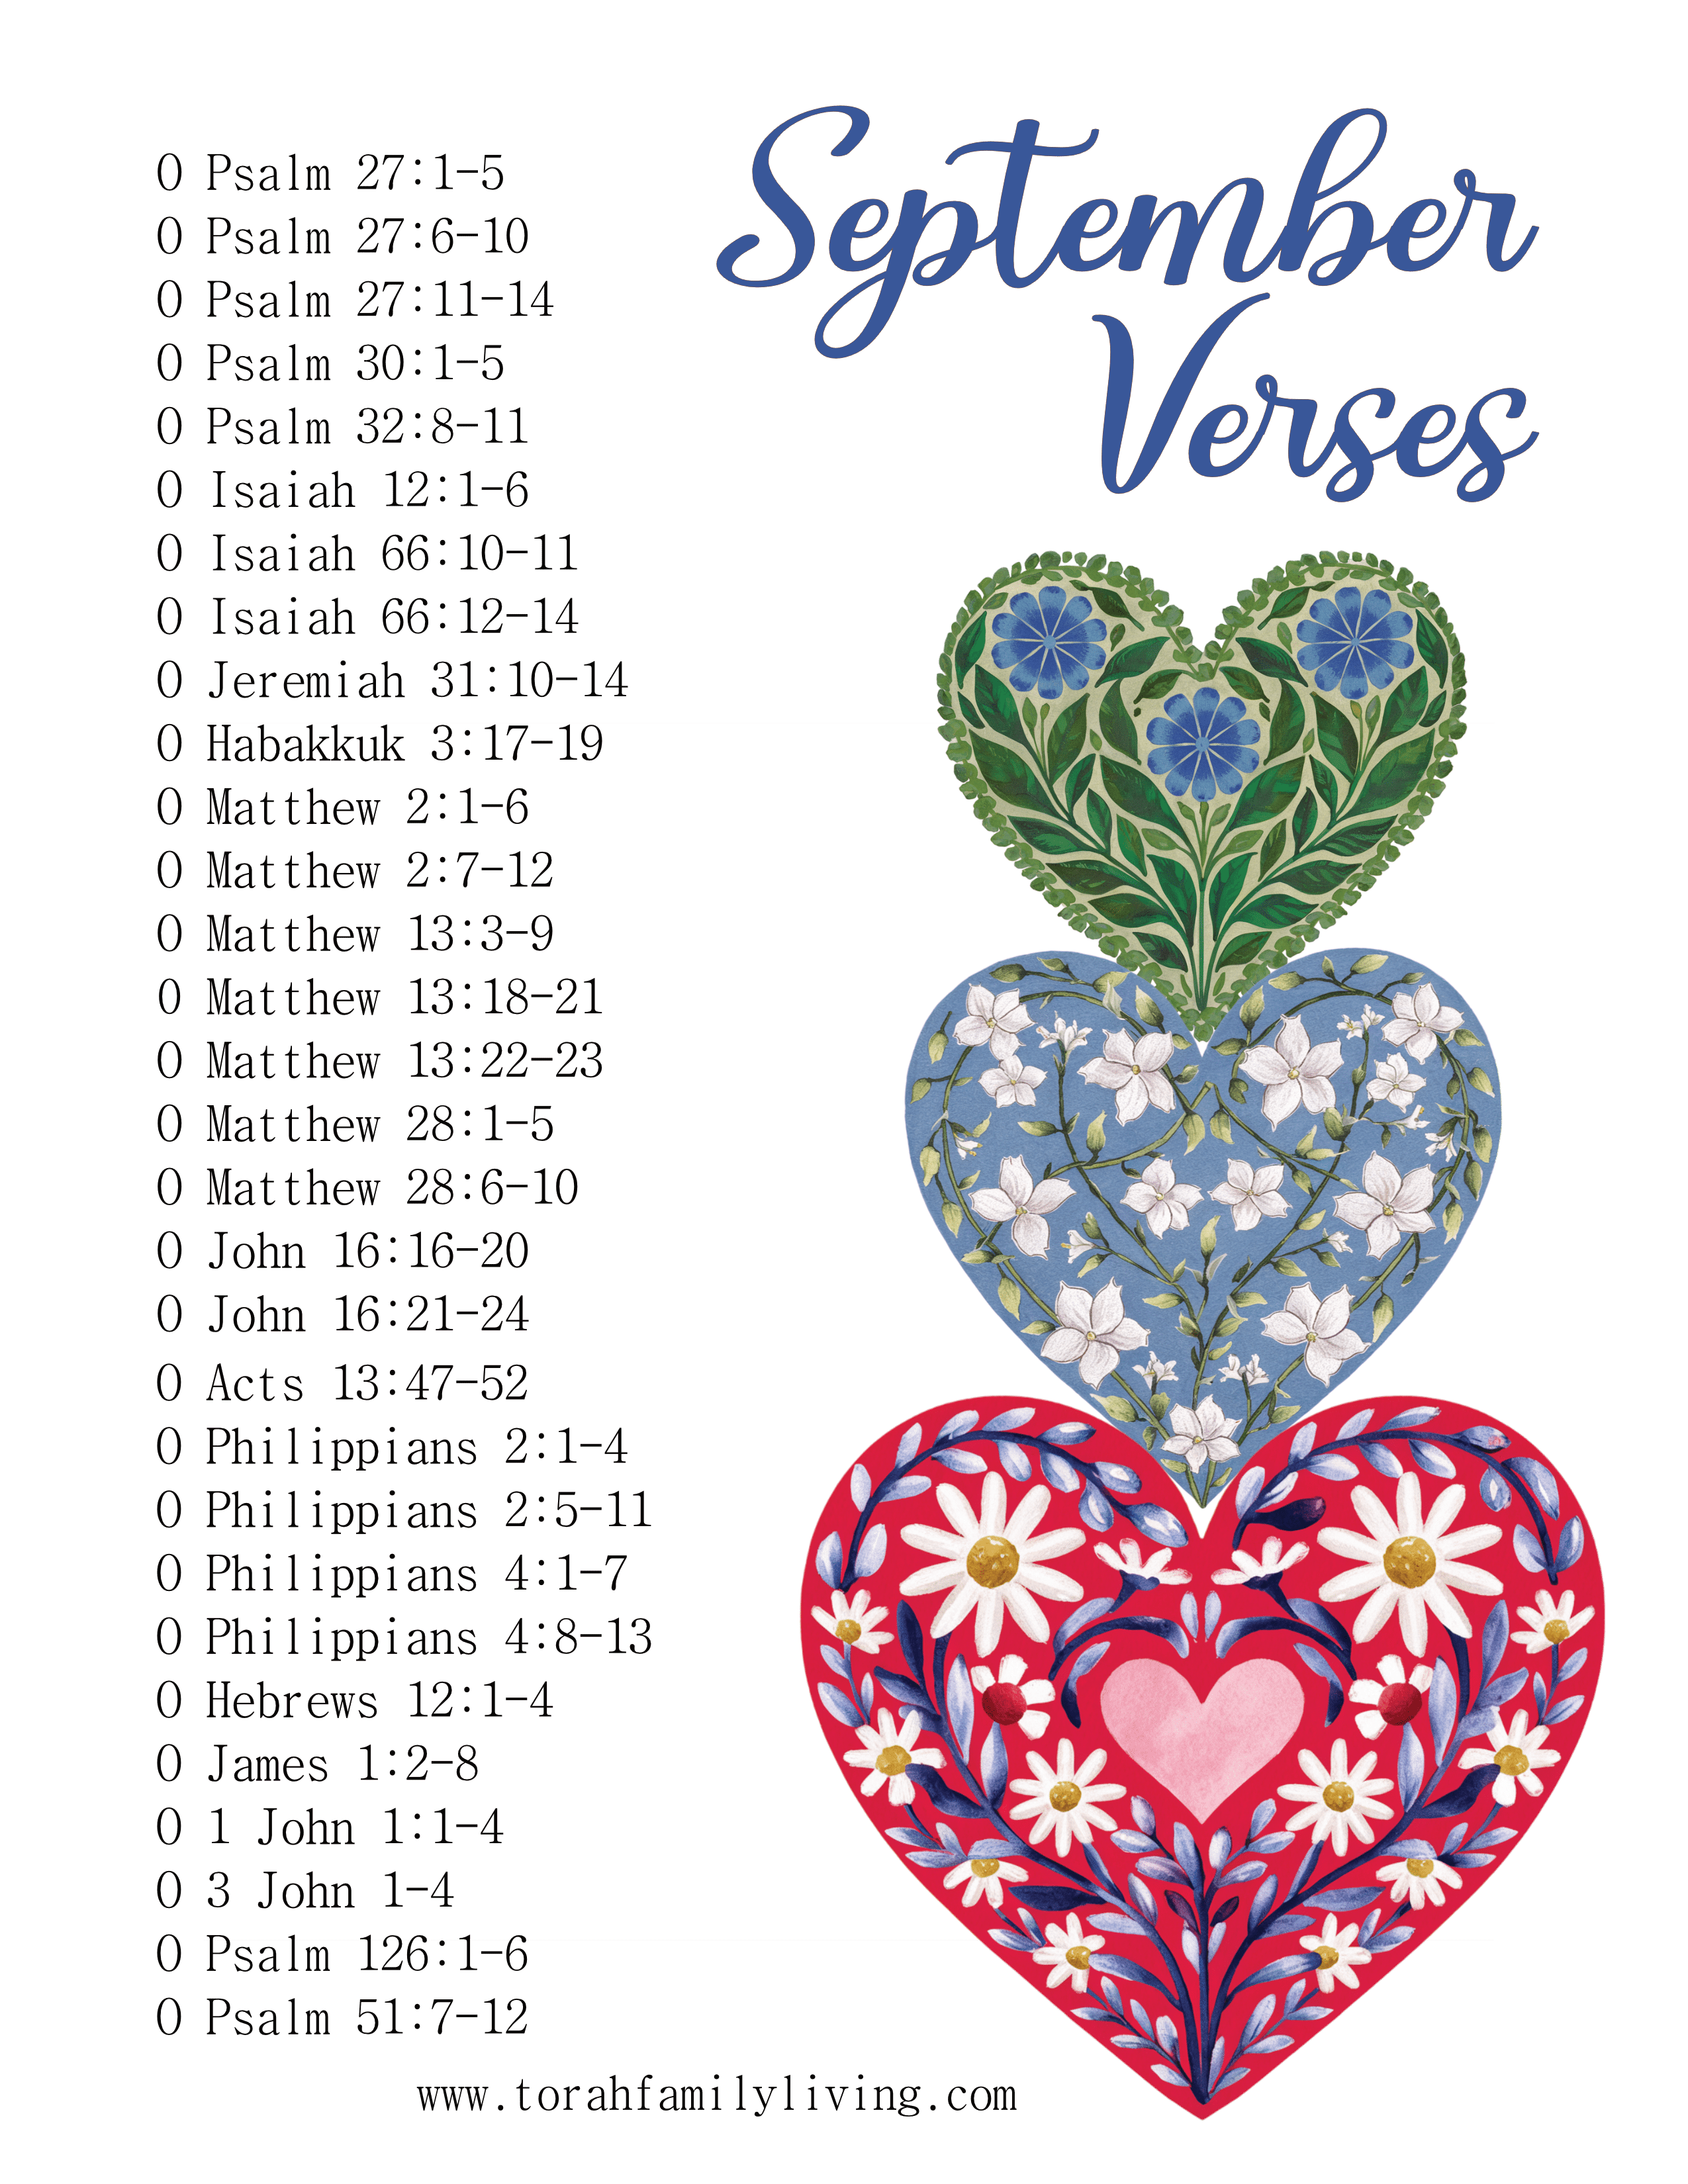
- If you have a discbound planner, you can print, cut, and add my monthly verse pages to your planner. Each month, I publish a free verse list of 30 passages, along with matching journal pages. It’s a great way to add Scripture to your planner.
Budget with a variable income
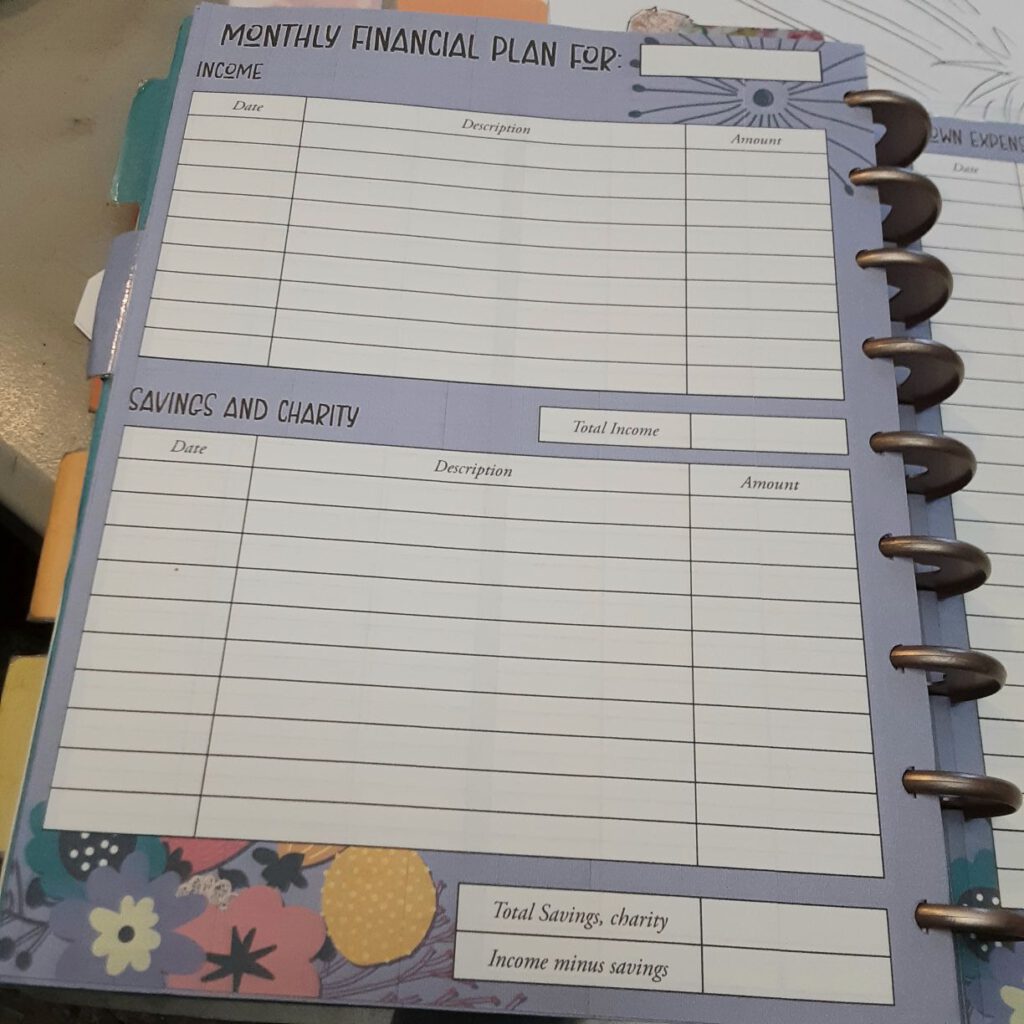
We had a paycheck for many years, and that makes budgeting much more straightforward. You can often anticipate what each paycheck will be within a few dollars, and that makes planning ahead much easier. Now that we are self-employed, income is much more variable. It took me awhile to figure out how to effectively budget a variable income, but I have developed a system that works well. Here are the steps I take each month.
- During the month, any income that comes in is logged on the next month’s income list. You can see that box in the picture below.
- On the 29th or 30th of each month, I sit down to plan out the budget for the next month. I transfer my income for the month out of my Paypal account. Thirty percent gets transferred to my business bank account for taxes and business expenses. Seventy percent is my paycheck for the month. It gets transferred to our personal bank account. Those amounts are logged under income.
- Then, I decide where all the money needs to be. I have several bank accounts to separate our money into categories. (Savings 1- Rainy day savings, Savings 2- Annual expenses such as insurance, Savings 3- All money not designated elsewhere, Money market account- Emergency fund, Savings 4- Medical expenses, Checking- The money needed for the next month)
- On the expenses page, I list all bills for the next month and total them at the bottom of the page. I include an amount for purchases such as gas or groceries. This is the total that will end up in my checking account.
- On my budget planning day, I pay all the bills due in the first half of the month.
- Halfway through the month, I pay all remaining bills.
I hope my method will help you get thinking on how you can budget, whether your income is pretty steady, or variable like ours.
Record daily lessons in your homeschool
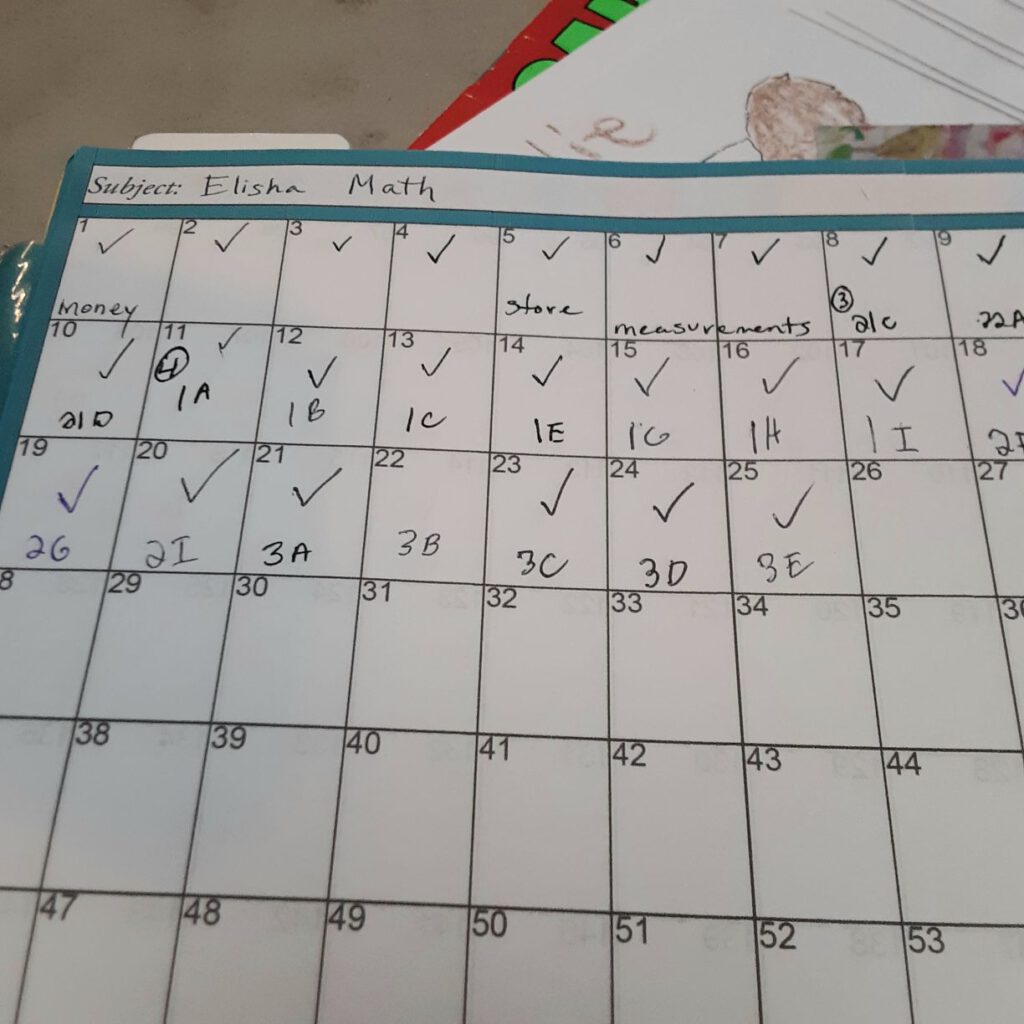
If you are a homeschool mom, it is imperative that you have some sort of system to record your children’s work. I have tried several things over the years, including software programs. As with many things, it turned out that simple is best. I have gridded pages in the homeschool section of my planner with 180 boxes. When they complete a lesson, I mark it off. Language arts and math already have lesson numbers, so it’s very easy to track. For subject like history and science, I write in topics for study and write in the various activities (craft, copywork, documentary, project, etc.) to record what we have done. I explain this a bit more in the video below.
Add tabs to important pages
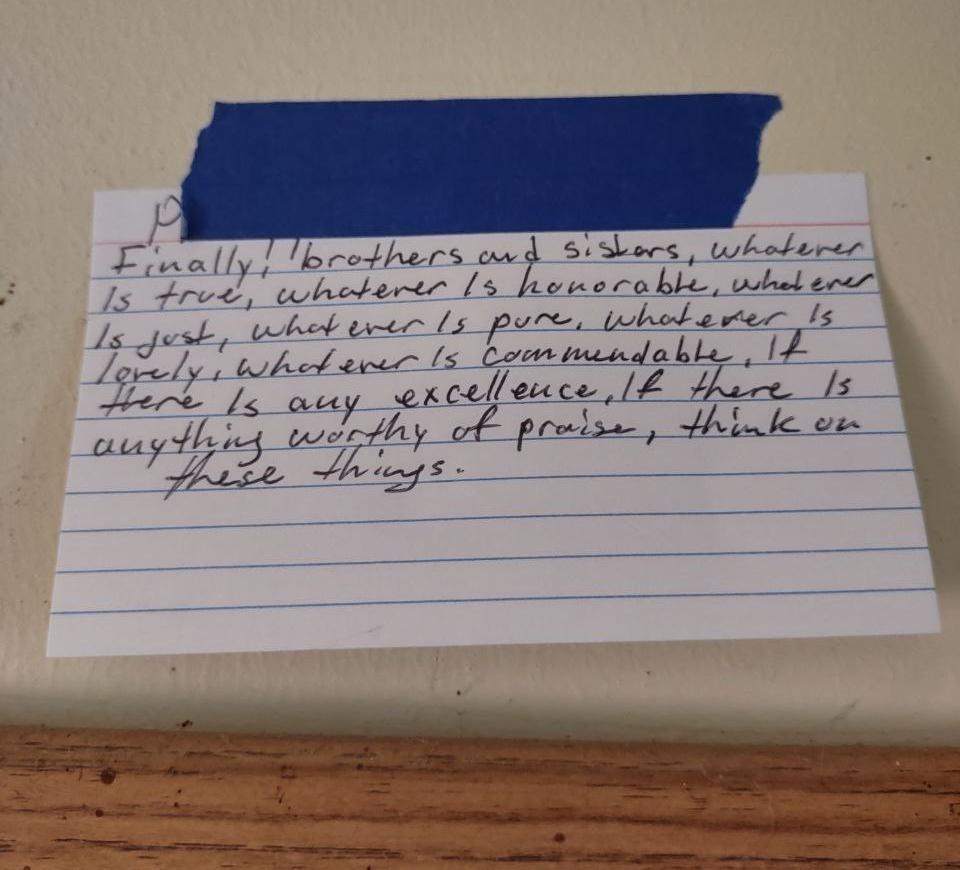
I write “all the things” in my planner, including reference things like my childrens’ current clothing sizes. I use a glue-on tab to mark those pages for easy reference. You can glue them on the side of your page, or as I prefer, along the top edge of the page. I use a simple glue stick and write with a pen. Then I use a small piece of packing tape wrapped over the tab to secure and protect it. I also use a tab for each of my monthly budget pages, verse lists, and current projects.
What are some creative ways that you use your planner? Please share them in the comments below.
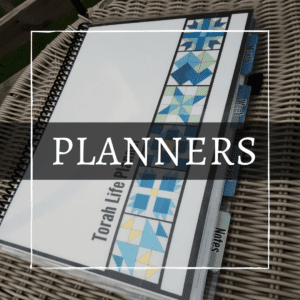
You can get your own customized planner by clicking on one of the buttons below. They have all the same features and layout. The only difference is the style. The Torah Family Living planner is bright and floral. The Torah Life planner is minimalist with little quilt blocks in the corners.


